Photo's of book:
Today I took pictures of my finished publication to help present it in the best way possible. As the colours of the book were quite muted I had to adjust the camera and lighting accordingly. I took lot's of photos so that I can edit them and work out which ones are the best.
Wednesday, November 9, 2016
OUGD504 Studio Brief 01 - Binding and Cutting
Binding and Cutting:
I found the binding process not too difficult once I had been reminded of the method, however once I had finished I have realised that the bind isn't as strong as I wanted it to be. This means that the pages do shift around a little bit, although I think that overall it does suit and reflect the hand crafted nature. Once I had bound it the edges needed to be cut down more accurately to give nice straight edges, it was suggested to use the electric guillotine. However unfortunately because the bind allowed the pages some movement it was hard to keep them all in place which actually made the cut uneven. But because I didn't want to do anymore damage by cutting it down further again I decided to leave it, as it isn't very noticeable and adds to the handcrafted feel. If I was too do this again I would make sure that I have a nice tight bind and take more care when cutting things down, potentially practicing first as I seem to struggle with it.
Tuesday, November 8, 2016
OUGD504 Studio Brief 01 - Test Printing
Test Printing:
Even though I had found a stock which I would like to work with I still thought that it was important to test out other possibilities, to see which worked the most effectively. As I had done lots of test prints on a normal printer I was able to work out what settings were needed to print it out correctly and work with the pagination. This was really useful as then I could just focus on what the stock looked like. The handwriting that spread across double pages also worked well and lined up pretty accurately.
Digital HP Regular - High White - Extra Blanc - 120gsm
I found this stock to be the most unsuccessful, because the whiteness of the paper contrasted against the black handwriting it did work well, but it didn't look natural. The weight has a nice feel to it where you would be able to flick through the book with ease however it was too see through. Handwriting started to show through on the pages taking away from the original handwritings themselves. I wanted each handwriting to have its own space and speak for itself and when you can see others coming through it draws attention away.
Cyclus Print Certifie FSC - 130gsm
I did quite like this stock as the weight had a good feel, which even though it is higher gsm than the other one, somehow felt more flexible. I didn't have the problem of handwriting coming through the pages, which left handwriting to stand on their own. The colour of the stock was also an off white which helped make it seem less clinical and ordered. However the actual print on the paper with the handwriting didn't look as if they had just been written, some of them looked to much like they had been printed making it look less natural.
Cairn Straw White 120gsm
This has to be my favourite stock choice, because the design is simple, stock really needed to be considered and how that would add more to the design. Because this paper has texture it already creates intrigue, and the type of texture that it is, gives a rustic effect. It works well with the print because type is still very legible and it helped give the handwriting a more off hand natural feel that I wanted, as if people had just come and wrote in the book. This is the stock choice I will be using for the publication.
Monday, November 7, 2016
OUGD504 Studio Brief 01 - Embossing
Embossing:
After thinking more in depth about what finish I could add to my book front cover I have decided to go with embossing. The reason for this is because it is a traditional technique that will leave a textured impression. It relates to the content of my book by helping to add personality and that hand-made style. Due to the resources available to me at the college I would be embossing by using type used for letterpress. This was the next stage in typography from handwriting - lead type - so I feel that it still has contextual value. I also don't want it to be completely visible, I want it to intrigue and make people want to find out the content.
Letterpress type that's available:
I wanted to choose a typeface that was similar to the one used within my publication but also reflecting the traditional nature. I chose to work with Times Bold 48pt working all with upper case letters.
I set my type in the chase and made sure that it was held together firmly in place so that the type wouldn't shift. The type also has to be set backwards so that it will print the right way up. Luckily as I was only working with one word it wasn't too difficult or time consuming to assemble.
After applying a bit more pressure the embossed relief was more visible and so I will be using this for my front cover.
The front cover stock that I used is:
CAIRN ECO KRAFT
A1
170gsm
57p
It provides the right texture and weight that I want, standing up to wear and tear, while having the rustic effect of a sketchbook.
After thinking more in depth about what finish I could add to my book front cover I have decided to go with embossing. The reason for this is because it is a traditional technique that will leave a textured impression. It relates to the content of my book by helping to add personality and that hand-made style. Due to the resources available to me at the college I would be embossing by using type used for letterpress. This was the next stage in typography from handwriting - lead type - so I feel that it still has contextual value. I also don't want it to be completely visible, I want it to intrigue and make people want to find out the content.
Letterpress type that's available:
I wanted to choose a typeface that was similar to the one used within my publication but also reflecting the traditional nature. I chose to work with Times Bold 48pt working all with upper case letters.
I set my type in the chase and made sure that it was held together firmly in place so that the type wouldn't shift. The type also has to be set backwards so that it will print the right way up. Luckily as I was only working with one word it wasn't too difficult or time consuming to assemble.
I put the type face up and placed my stock over the top, positioning it where I wanted it to go. I then put it through the press making sure to add a bit of pressure but not so much that it will crush the lead type.
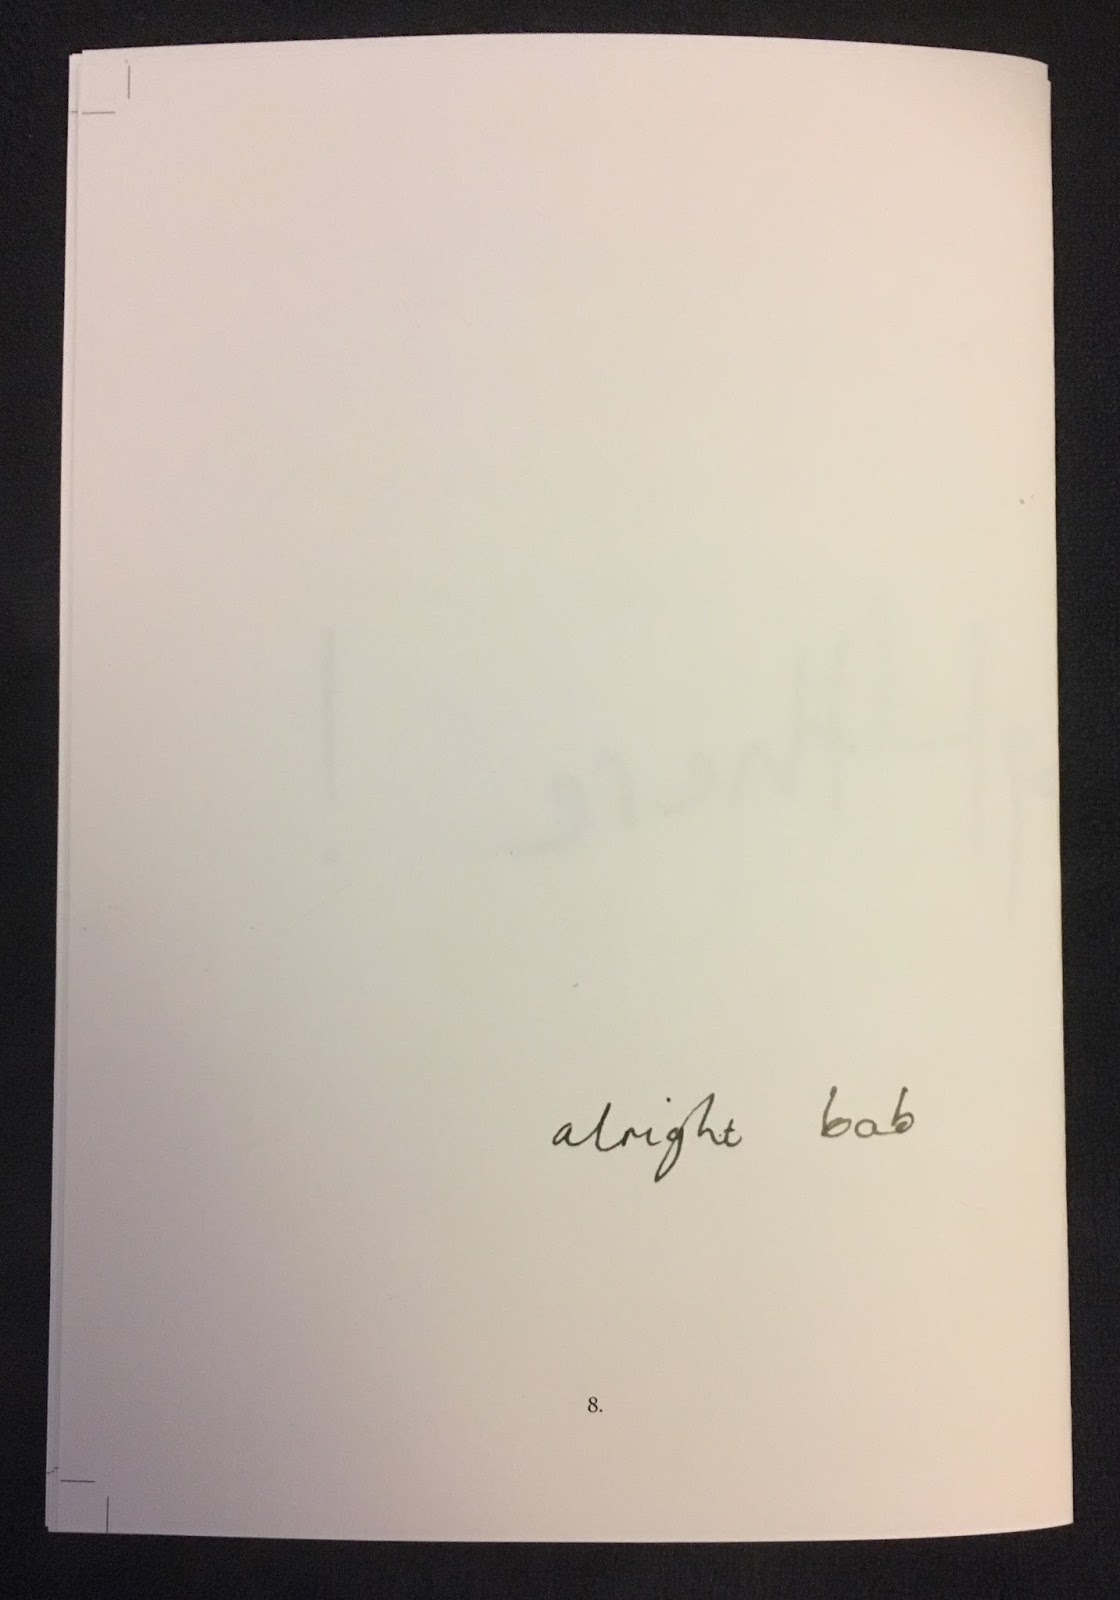
Unfortunately on my first attempt I hadn't applied enough pressure so the word isn't very visible.
After applying a bit more pressure the embossed relief was more visible and so I will be using this for my front cover.
The front cover stock that I used is:
CAIRN ECO KRAFT
A1
170gsm
57p
It provides the right texture and weight that I want, standing up to wear and tear, while having the rustic effect of a sketchbook.
OUGD504 Studio Brief 01 - Finishes (Research)
Finishes:
As part of the production process I want to add a finish to help enhance the design, this is something that I will apply to the front cover of my book.
Die-stamping:
Produces a three-dimensional low relief effect on paper or cover board. Like a heavy handed letterpress, with the additional assistance of a hollowed-out recess on the other side. A method of printing using an inked die to produce raised print. Made in steel or brass from artwork, either etched photographically like a process block, or engraved by a computer controlled machine tool. Used on book covers, greeting cards and logos on business cards.
Thermography:
A cheaper method to obtain a low relief. A fresh printed image is dusted with transparent thermography powder which sticks to the ink. When this is heated it swells becoming 3D, high-gloss and matte finishes are available. Sheets printed using thermography can become a problem if put through laser printers as it can melt.
Embossing:
Creating a raised image or design in paper and other materials. In one type of process, embossing dies come into contact with the wet pulp or damp paper under high pressure. This creates a raised surface. One way of embossing paper is to place the selected die directly onto a freshly pulled sheet and let the sheet dry on the mould. However, it is far more common and effective to impress an item into the sheet under pressure.
Another method of embossing involves using ready-made paper and running it through a printing press. The paper is dampened and pressed against a block or plate prepared by the embosser. Handmade, machine made and mould made papers all withstand this technique gracefully with fantastic embossing effects.
Foiling:
The transfer of a foil coating from a carrier roll of polyester, by means of a heated die. The coating can be metallic, matte, pearl or even a hologram. It uses heat and pressure to attach the foil to the substrate, either using a rotary method where it is applied in-line or using an off-line hot-stamping press.
Cold-foil stamping used on packaging are transferred to a substrate by means of a UV-curable adhesive applied to the substrate by either offset or flexo printing. Then the cold-stamping foil, comprising a carrier foil and stamping layer, is laminated onto the substrate. When the adhesive is cured, the carrier foil is stripped from the substrate. This process uses printing plates which is cheaper and can cut production times. Gradient and halftone iages cant be introduced.
Debossing:
The deboss process is the same as that for embossing, except debossing raises the material around the die impression rather than raising the design area itself. Brass, copper, and magnesium dies are used in the debossing process as well.
RESOURCE:
WEB
- http://www.whatisembossing.com/process.html
BOOK
- Production for Graphic Designers 5th Edition - Alan Pipes
OUGD504 Studio Brief 01 - Problems with printing
Problems with printing:
As with anything there are certain problems that can arise when printing, it is therefore important to be aware of these problems so that you can address them quickly and effectively.
RESOURCE:
BOOK
- Production for Graphic Designers 5th Edition - Alan Pipes
As with anything there are certain problems that can arise when printing, it is therefore important to be aware of these problems so that you can address them quickly and effectively.
RESOURCE:
BOOK
- Production for Graphic Designers 5th Edition - Alan Pipes
OUGD504 Studio Brief 01 - Setting up for print
Setting up for print:
As my design is at the stage where it would be ready to be sent to the printers certain specifications need to be set up (outlined by the printer) to ensure that the document is printed correctly.
Bleed - the area that extends beyond the actual dimensions of the document. Used to avoid white strips of paper should the batch be misaligned when cut to size.
Objects that touch the edge of the document require a bleed. 3mm is the standard required in the UK.
You would then add 6mm to the height and width of the document for example:
A4 Paper = 210mm x 297mm
210mm + 6mm = 216mm
297mm + 6mm = 303mm
Total Document Size = 216mm x 303mm
Margin - to avoid objects looking like they are going to fall off the edge of the page or accidentally getting trimmed off. Margin is personal preference but 3mm, 5mm or 10mm are usually used depending on overall size.
Crop marks - little lines that sit around the edge of the document showing where the area of bleed ends and the proper document begins. Working alongside the bleed to inform the printer where to cut the document down. They are usually hairline of 0.25pt in thickness and are set in registration black.
File format - not all printers want the same files, you need to make sure you know what to send to them as it can slow down the whole process. Usually a PDF (optimized for print not a low-res space saver) a Tiff an EPS, Packaged In-Design file.
Following directions - this will save time and money and make sure that you don't have to get anything reprinted. Make sure to take time and double check that everything is saved and packaged correctly (important with image links in Indesign).
Image resolution - files and images need to have the correct image resolution (DPI or PPI), essential for the quality and reducing pixelated images. Generally it is a res of 300.
Proof - sending a pdf or jpg of the file along with the package, shows the printer exactly what it's meant to look like so if they open the file and it doesn't look like that there is a problem.
My document set up for print:
As I am also doing a coptic bind I need to take this into consideration so that it prints out appropriately.
It works out I will have 4 signatures of 3 (48 page total).
Booklet type: 2 - up Perfect Bound
Signature size: 12
Tick Print Blank Pages
Paper Size: A3
Orientation: Landscape
Page Position: Centred
Tick Crop Marks
Tick Two - sided
Short - Edge binding
Bleed: 3mm
Margin: 10mm
For the digital print room in the college the file format will be a packaged in-design file.
Digital print will produce a good enough quality as I am not working with full detailed images. It will also be a lot quicker than offset as it doesn't need the plates to be made and the mixing of ink, proofs can be approved quicker. It will also allow me to print on my selected paper with no problems. There is no minimum order for digital print which means it will be more effective as I only want to produce a small amount of copies.
RESOURCE:
WEB
- http://blog.spoongraphics.co.uk/tutorials/designing-for-print-setting-up-crops-and-bleed
- http://www.nikibrown.com/designoblog/2010/03/08/set-up-files-for-printing/
Subscribe to:
Posts (Atom)